


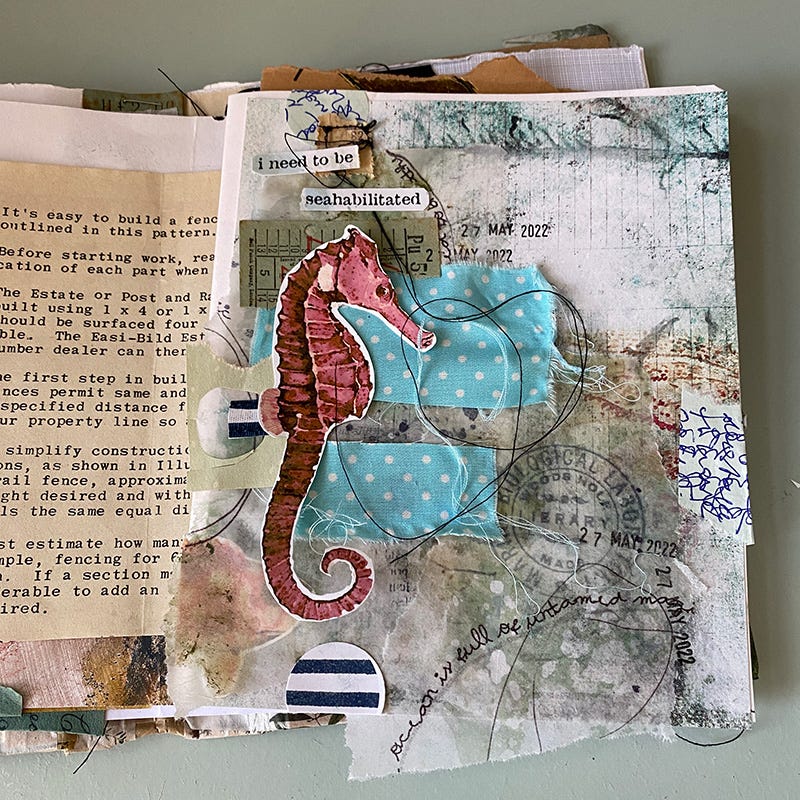
From Blank Canvas to Mini Collage in 5 Minutes
A Digital Scrapbook Page crafted in five minutes or so

This article is helpful to those who are just starting out in digital scrapbooking, short on time, or are proficient digital scrapbookers but are wanting a way to add an art or mixed media twist to their scrapbooking style.
Create a Scrapbook page in Adobe Photoshop in just 5-10 Minutes

My Digital Mixed Media Scrapbooking supplies are powerful tools to save you time and to add an Art or Mixed Media Twist to your pages.
Tips for a no faff Mixed Media Design with minimal touches
Select a background paper
Choose some ready made art elements that can be quickly ‘dragged and dropped’ onto your paper canvas and ones that will ‘mount’ your photograph.
Seek out elements that don’t require you spending a lot of time trying to perfect shadows such as image transfers, mark making and paints.
These ready made art elements will create interest on your background and will add texture.
These smart ready made elements can be found within my kits and collections and they don’t require any additional work or drop shadows etc. You can just move them around your background and experiment where they look best.
For this tutorial I used Mark Making, Image Transfers and Ink Splatters from the Hear My Voice Masking Mixed Media Pack and Kit - If you are looking to make a purchase you can consider the Full Collection which is the best value option and contains all the Digital Art.
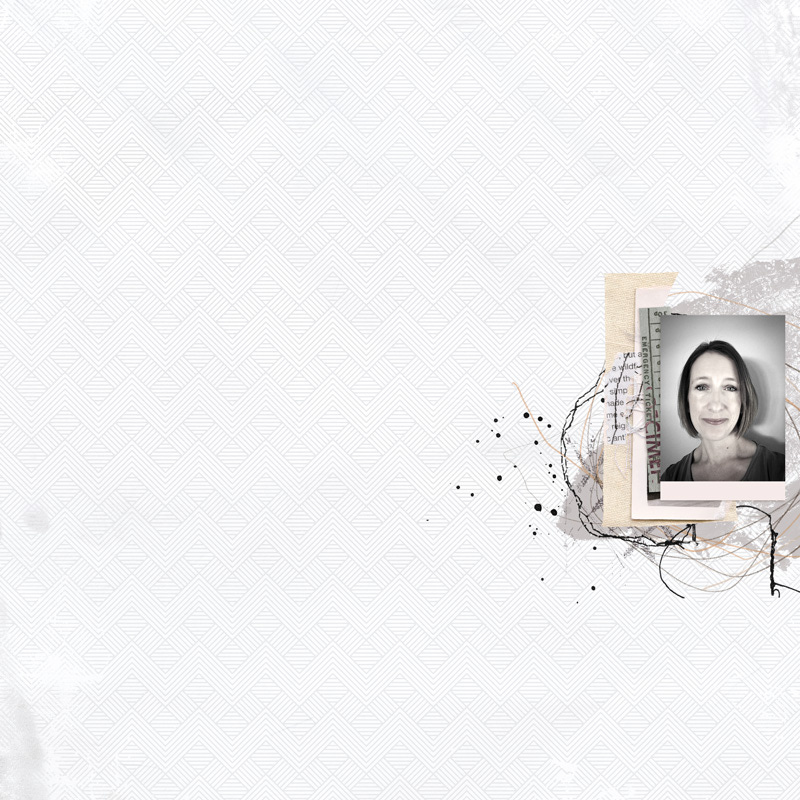
Here is how my layout looks with just my background paper selection and a ready made digital art element and ink splatter in place.

Due to the way the marks were landing in the paint, and the stitching being on the right hand side I decided to place this paint on the right hand side of my layout and start building from there.
If you are new to digital scrapbooking, short on time or want a minimalistic collage look I recommend seeking out a few light paper elements to create a stacked look and to mount your photo a little more.
Select a few paperie/ephemera type elements to add on top of your paint that will nestle behind your photograph. Search for torn paper bits, ephemera, tickets, tags etc. Items that would look ‘glued’ down and again, don’t require you to sit and spend time perfecting shadows etc.
I always work with elements in a rigid order . . . paint, splatters and any image transfers go straight onto the background paper. Tickets, ephemera, paper strips etc. would be layered next and then photo layers are last.
More dimensional elements would sit on top of this layer order right on top of any stacks of paper or photo elements but for this example, i’m keeping dimensional elements to a minimum as I’m going for a flatter collage look.
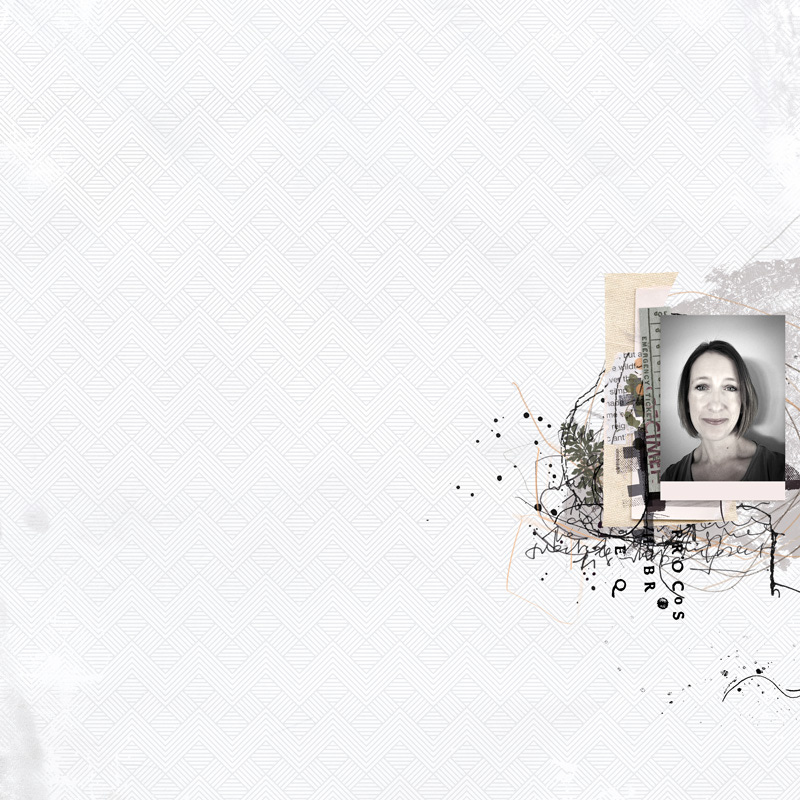
Next I added a torn photo collage and a ticket that provides a spot for my photo to sit on top.

Depending on the finished look you desire, and how much of a minimalist scrapbooker you are, this could be called done at this stage with a photo and any words and date elements . . .
I am not quite done though, I’m not happy with that arc beneath the photo that has been created with the stitch and thread, it leaves a weird gap.
I embellish a little more with some more drag and drop style digital elements. I added these stamps and transfers in between my ephemera layers.
For a more realistic look you can change the blend mode of these additional elements to either multiply or darken to suit. This helps those painted style elements or transfers or stamps to adhere and look painted onto or into the paper pieces that they are sitting on.

I’ll get to that empty space in that funny stitched arc in a minute, but first I work on my journaling.
The theme of this page is very personal and private and so I decided to handwrite my journaling in a messy way, photograph it, airdrop it to my Mac and then add it to my page as a design element and hide it within my layers.
I have written a tutorial on how to convert a photograph of handwriting into a digital stamp in a previous article which you can find here.
You might be able to see my messy words now just peeking out at the left side beneath the leaf and at bottom of the photo.
The empty space in that funny stitched arc is now filling up a little with the added text.
I added a date stamp, a word piece to reinforce the theme of my page, and finally, scattered around some sequins and I’m done!
From blank canvas to mini Collage in 5 to 10 minutes tops.


Did you find this helpful or want to request a future tutorial or article?
The Half Price Sale at the LilyPad
If you enjoyed this tutorial and would like to stock up on ready made digital art I invite you to shop my sale today.
Most Wednesday’s at the LilyPad you’ll be able to choose selected products from my shop at half the price and my offers at the LilyPad are live now.
Note that this link will expire tonight, for a short while only shop the half price sale here.


Don’t miss these
For the Month of June these products are featured and are heavily discounted . . .


Connect with me
By making a purchase from my shops or buying me a coffee you are supporting my small business and keeping a dream alive + it helps to fund the time it takes to publish tutorials and content for this publication.
If you have a substack account I’d love if you would log in and leave me a like or a comment. It helps me to learn which content and products you are enjoying and motivates me to keep writing and in turn to put together articles that are a good fit for you.
I’m always open to questions or suggestions!
If you don’t have an account yet it’s free, quick and easy to set up and you can also download the substack app which is lots of fun to use and a handy way to keep up with everything that’s going on.

I’m poor but some of those kits are really saying “buy me” and “this is you” :)
Great tips for beginners looking to get into the messy mixed media look.