


Junk Journaling with Digital Assets
A Quick Hybrid Craft Tutorial plus a Sale on Digital Assets Today

I love a little authentic brain dump and a messy but EASY collage session and so I thought it would be fun to share a snippet of my hybrid crafting process from this morning in today’s e-mail.
This is a fast and casual tutorial, no perfection intended here . . .
What you’ll need . .
Something to create your spread in or on, I used a handmade junk journal that I made from recycled materials (amazon packaging, random papers, ledger papers etc.) but you can use anything, the back of a cereal box, a piece of cardstock, a travellers notebook or sketchbook or anything you usually create your art in.
Some translucent type paper for printing on, I used Deli paper but you could experiment with tracing paper or vellum etc.
If you are printing on translucent paper like me you’ll need a piece of card to guide your flimsy paper through the printer plus some painters or washi tape to temporarily attach your translucent sheet to the card so it can smoothly feed through the printer.
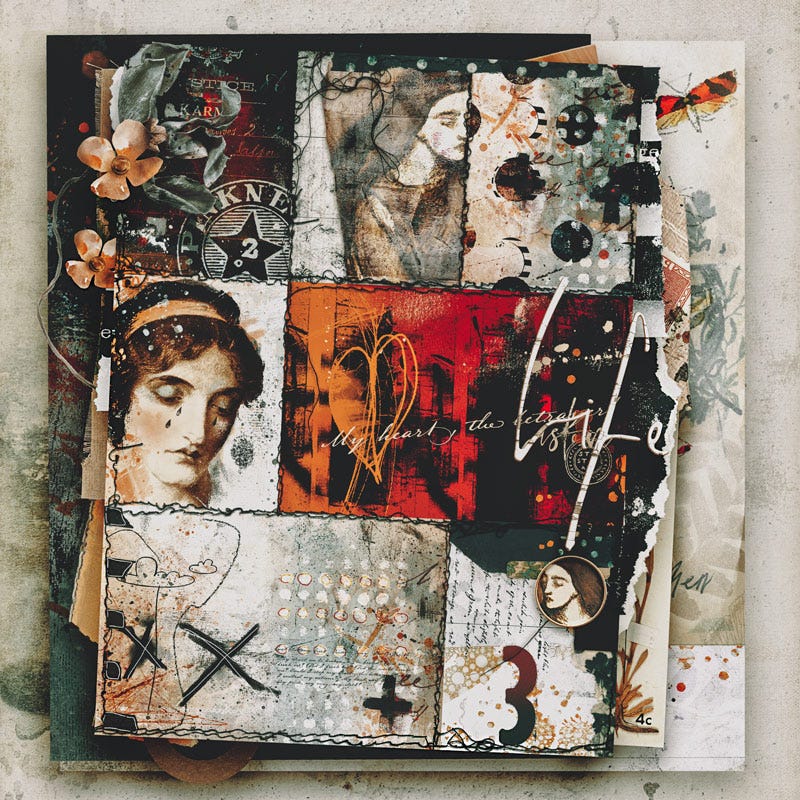
Digital Assets and the tech to create your collage print sheet. I used assets from Hear My Voice Hurting, a collaboration with Lynn Grieveson.
Glue to collage the translucent printed paper into your art, I used Matt Gel but you could keep it simple with a glue stick.
I didn’t use many extras, I did add a light smudge of white gesso and a spritz of orange ink and a black ink splatter plus i used a date stamp.
P.s look out for ready made collage print sheets coming soon to my digital shops within the next few weeks.
Preparing your collage print sheet
I used Photoshop to create my print sheet but I think you could use something like canva, any software where you can import PNG files and arrange them onto a suitably sized canvas.
I created my canvas, I work in A4 so that’s what I sized my page at and at 300 DPI
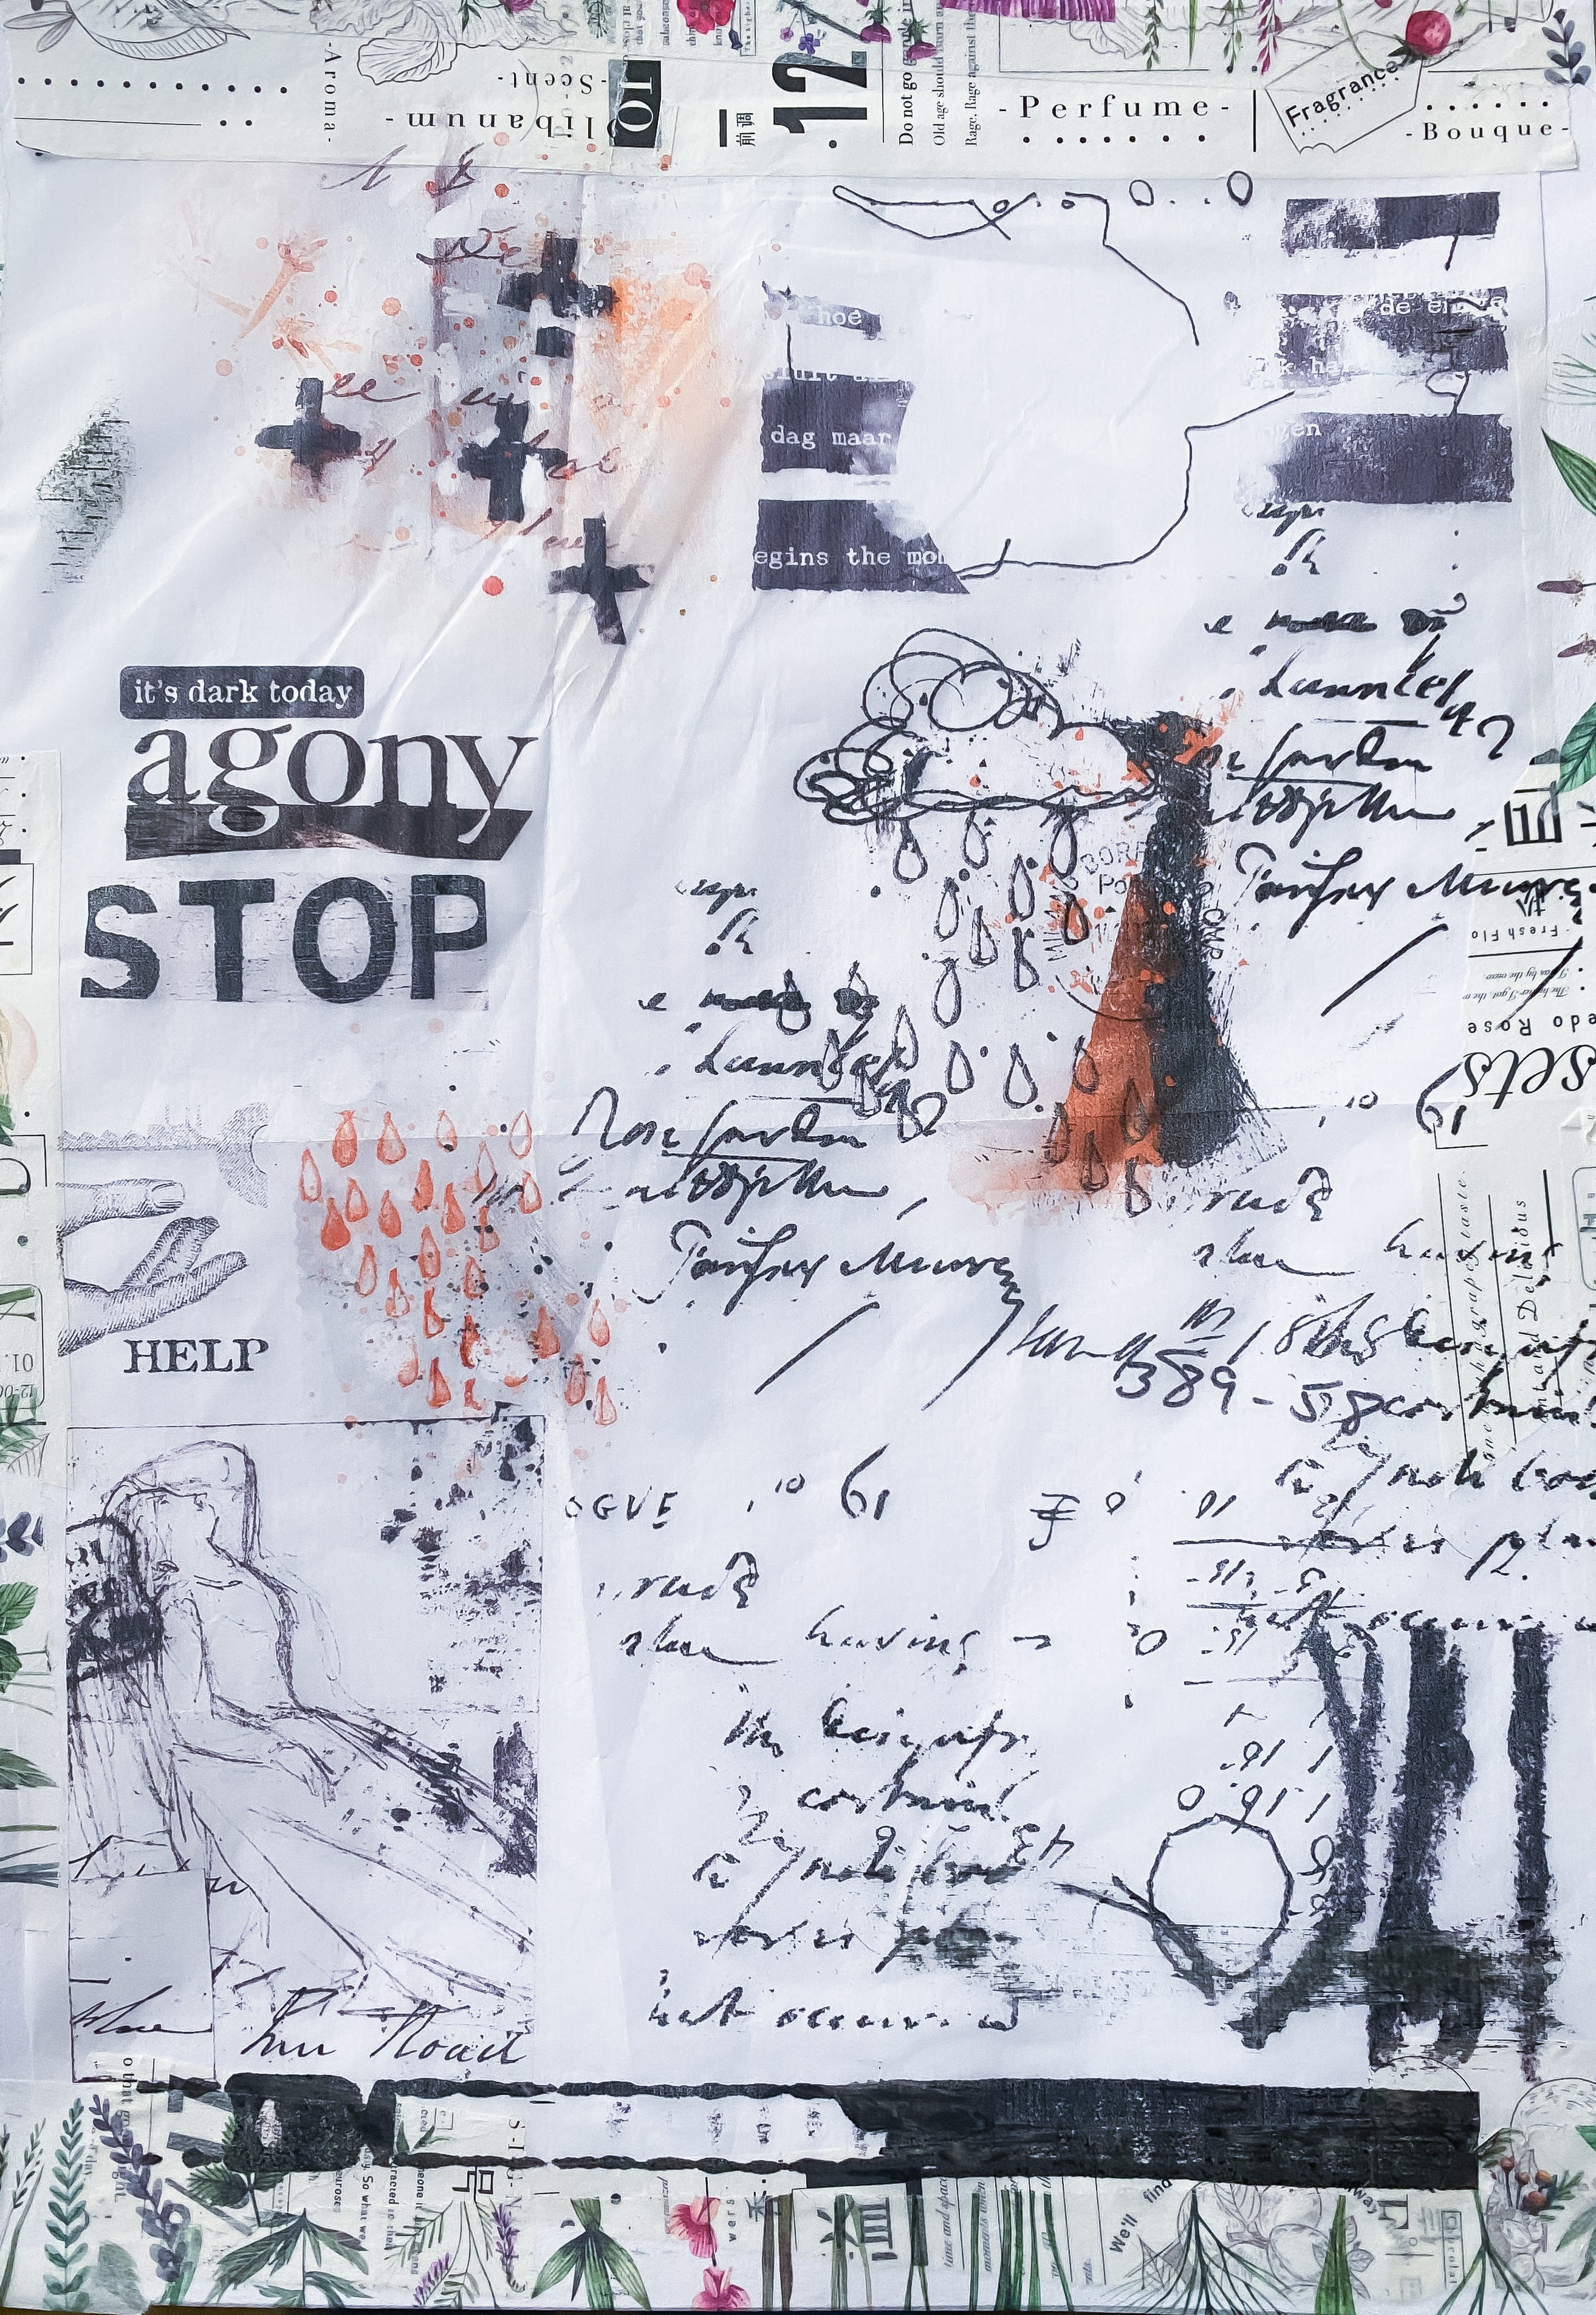
I selected digital assets from the Hear my Voice Hurting Mixed Media Pack and the Main Digital Kit Element Pack and arranged them on my canvas.
In photoshop I did some light editing where I desaturated some files and converted the greys to white so they looked like true digital stamps but that was just my preference.

Next I placed a blank piece of deli paper over an A4 piece of card and taped down the edges so that it would feed smoothly through the printer. This is what it looks like after printing.
I don’t like to start with a blank page so I always prep my journal pages first with something or other, this page already had part of a business envelope and a bit of scrap paper glued down.
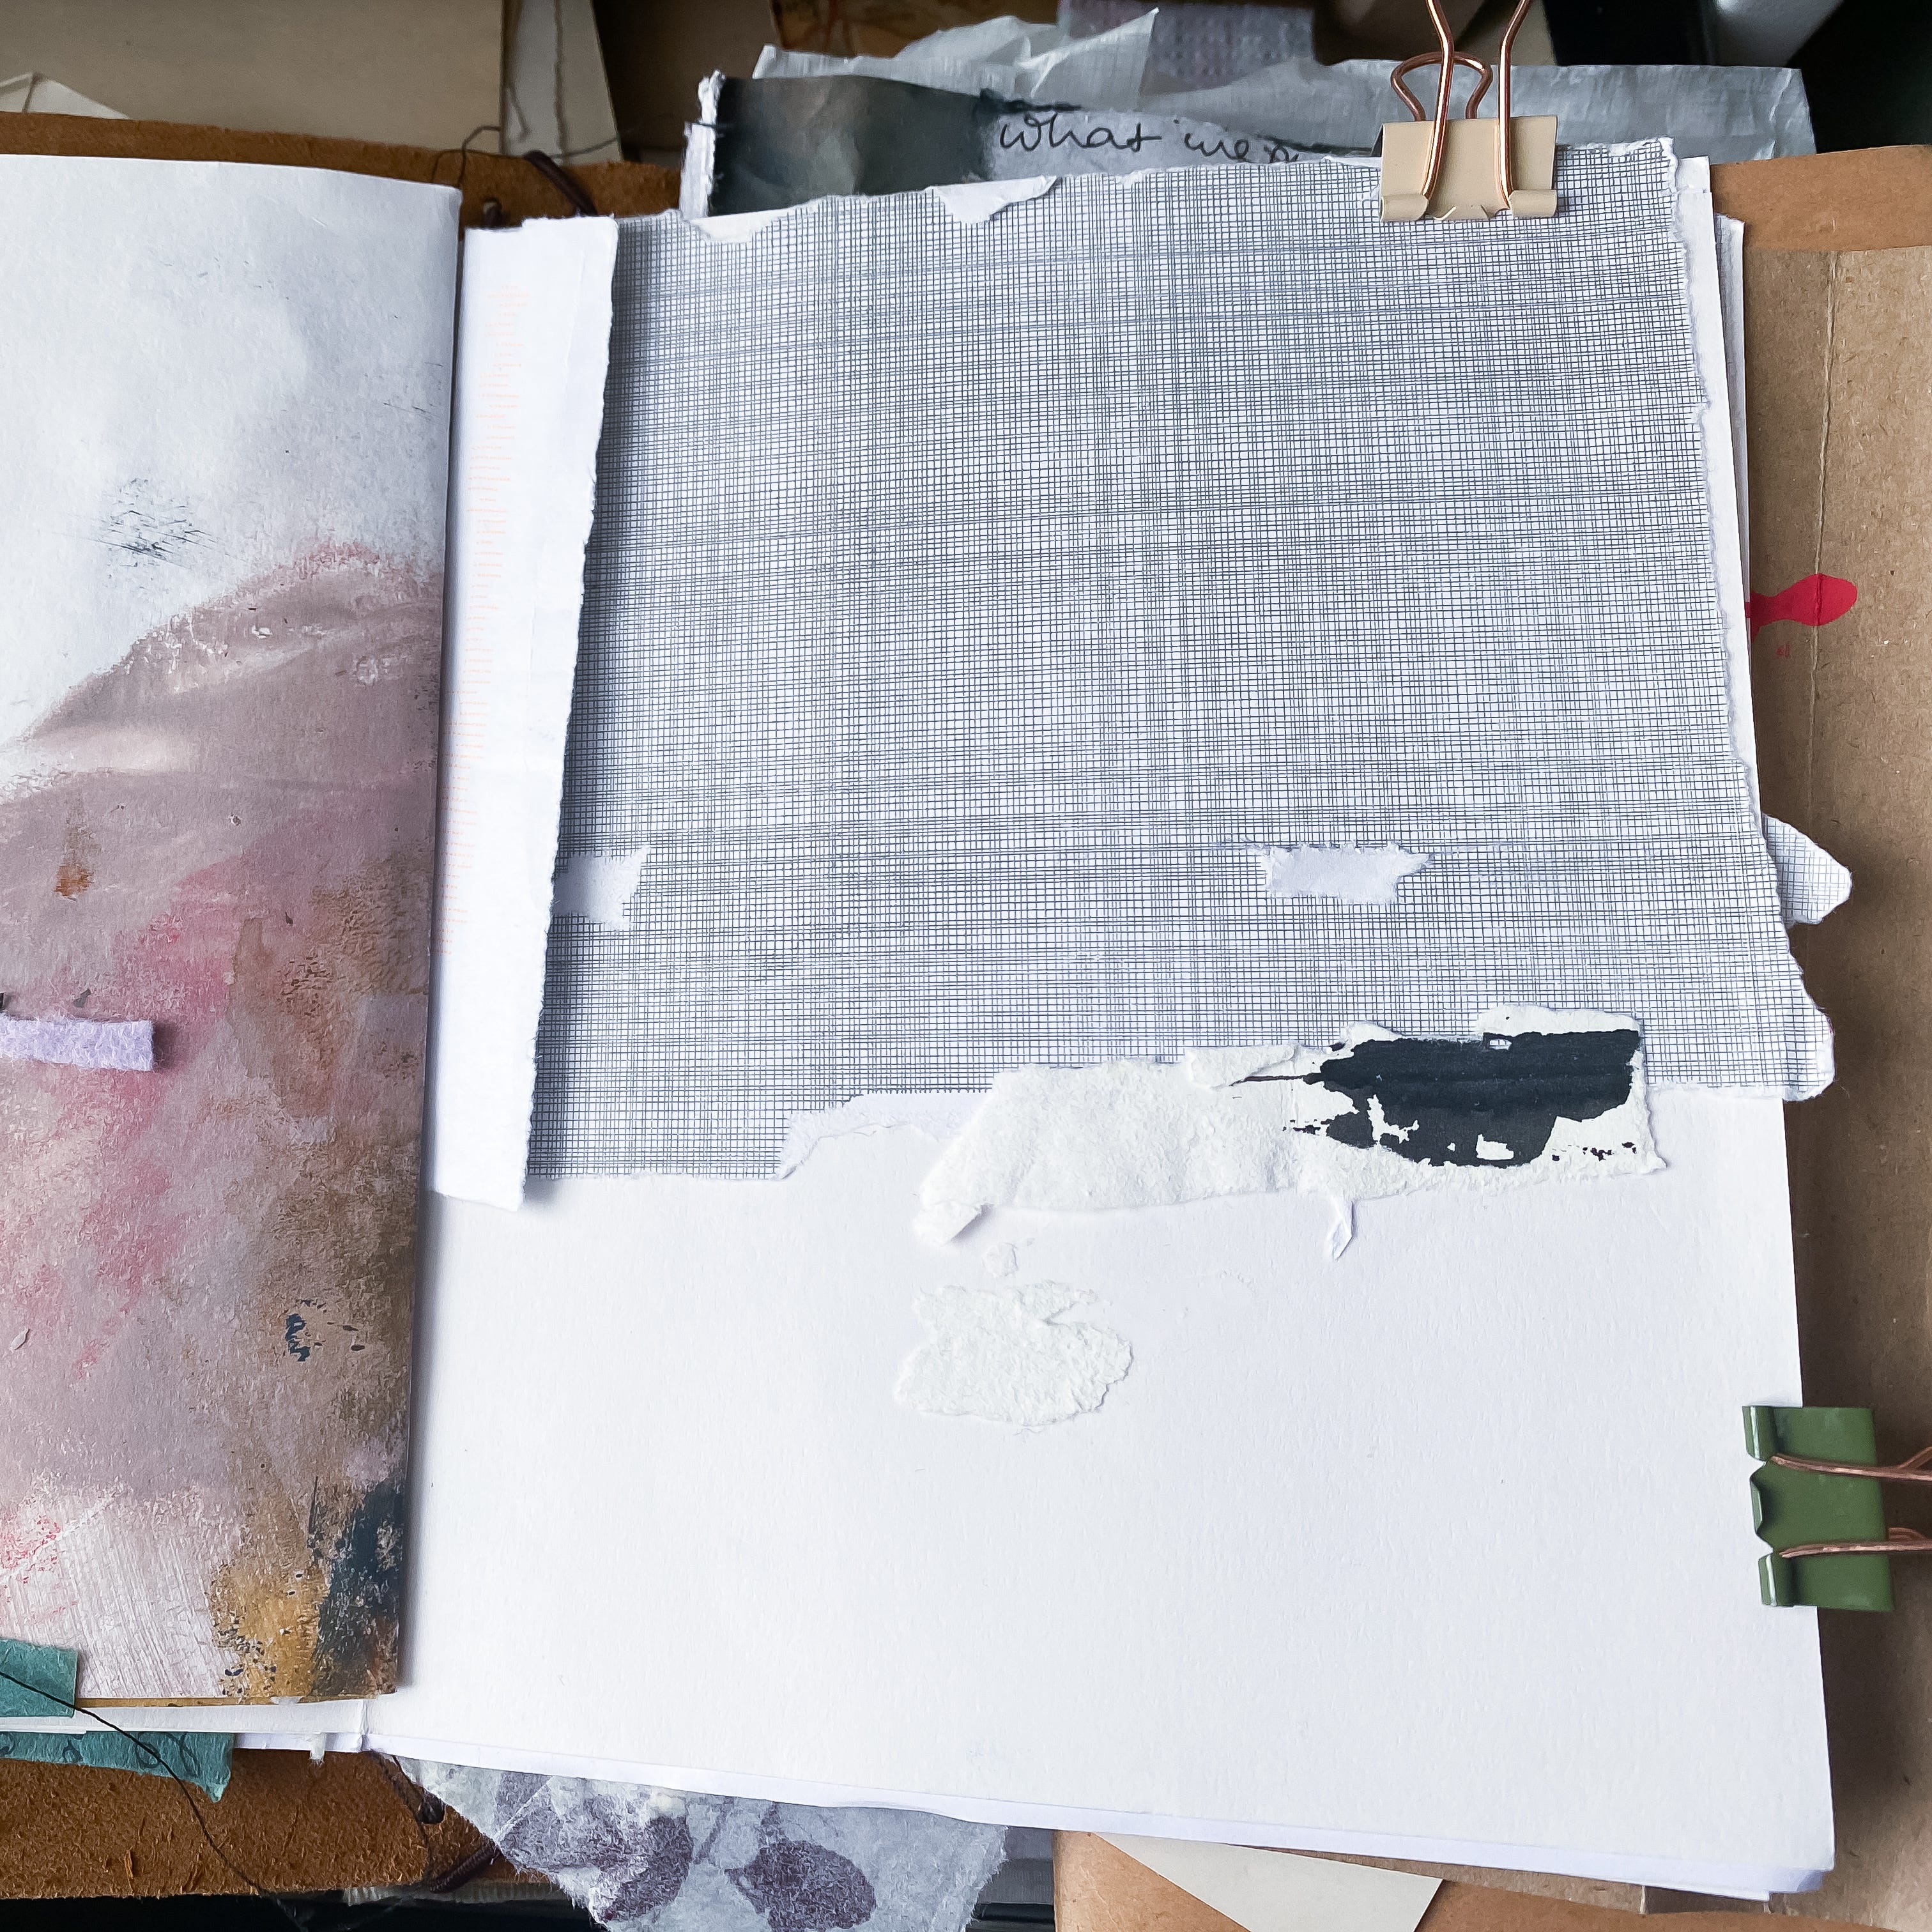
I removed the tape from around the edges so that I was just left with the transparent paper. Some of the pieces from the transparent paper I tore out and others where I wanted cleaner edges I cut out with scissors.
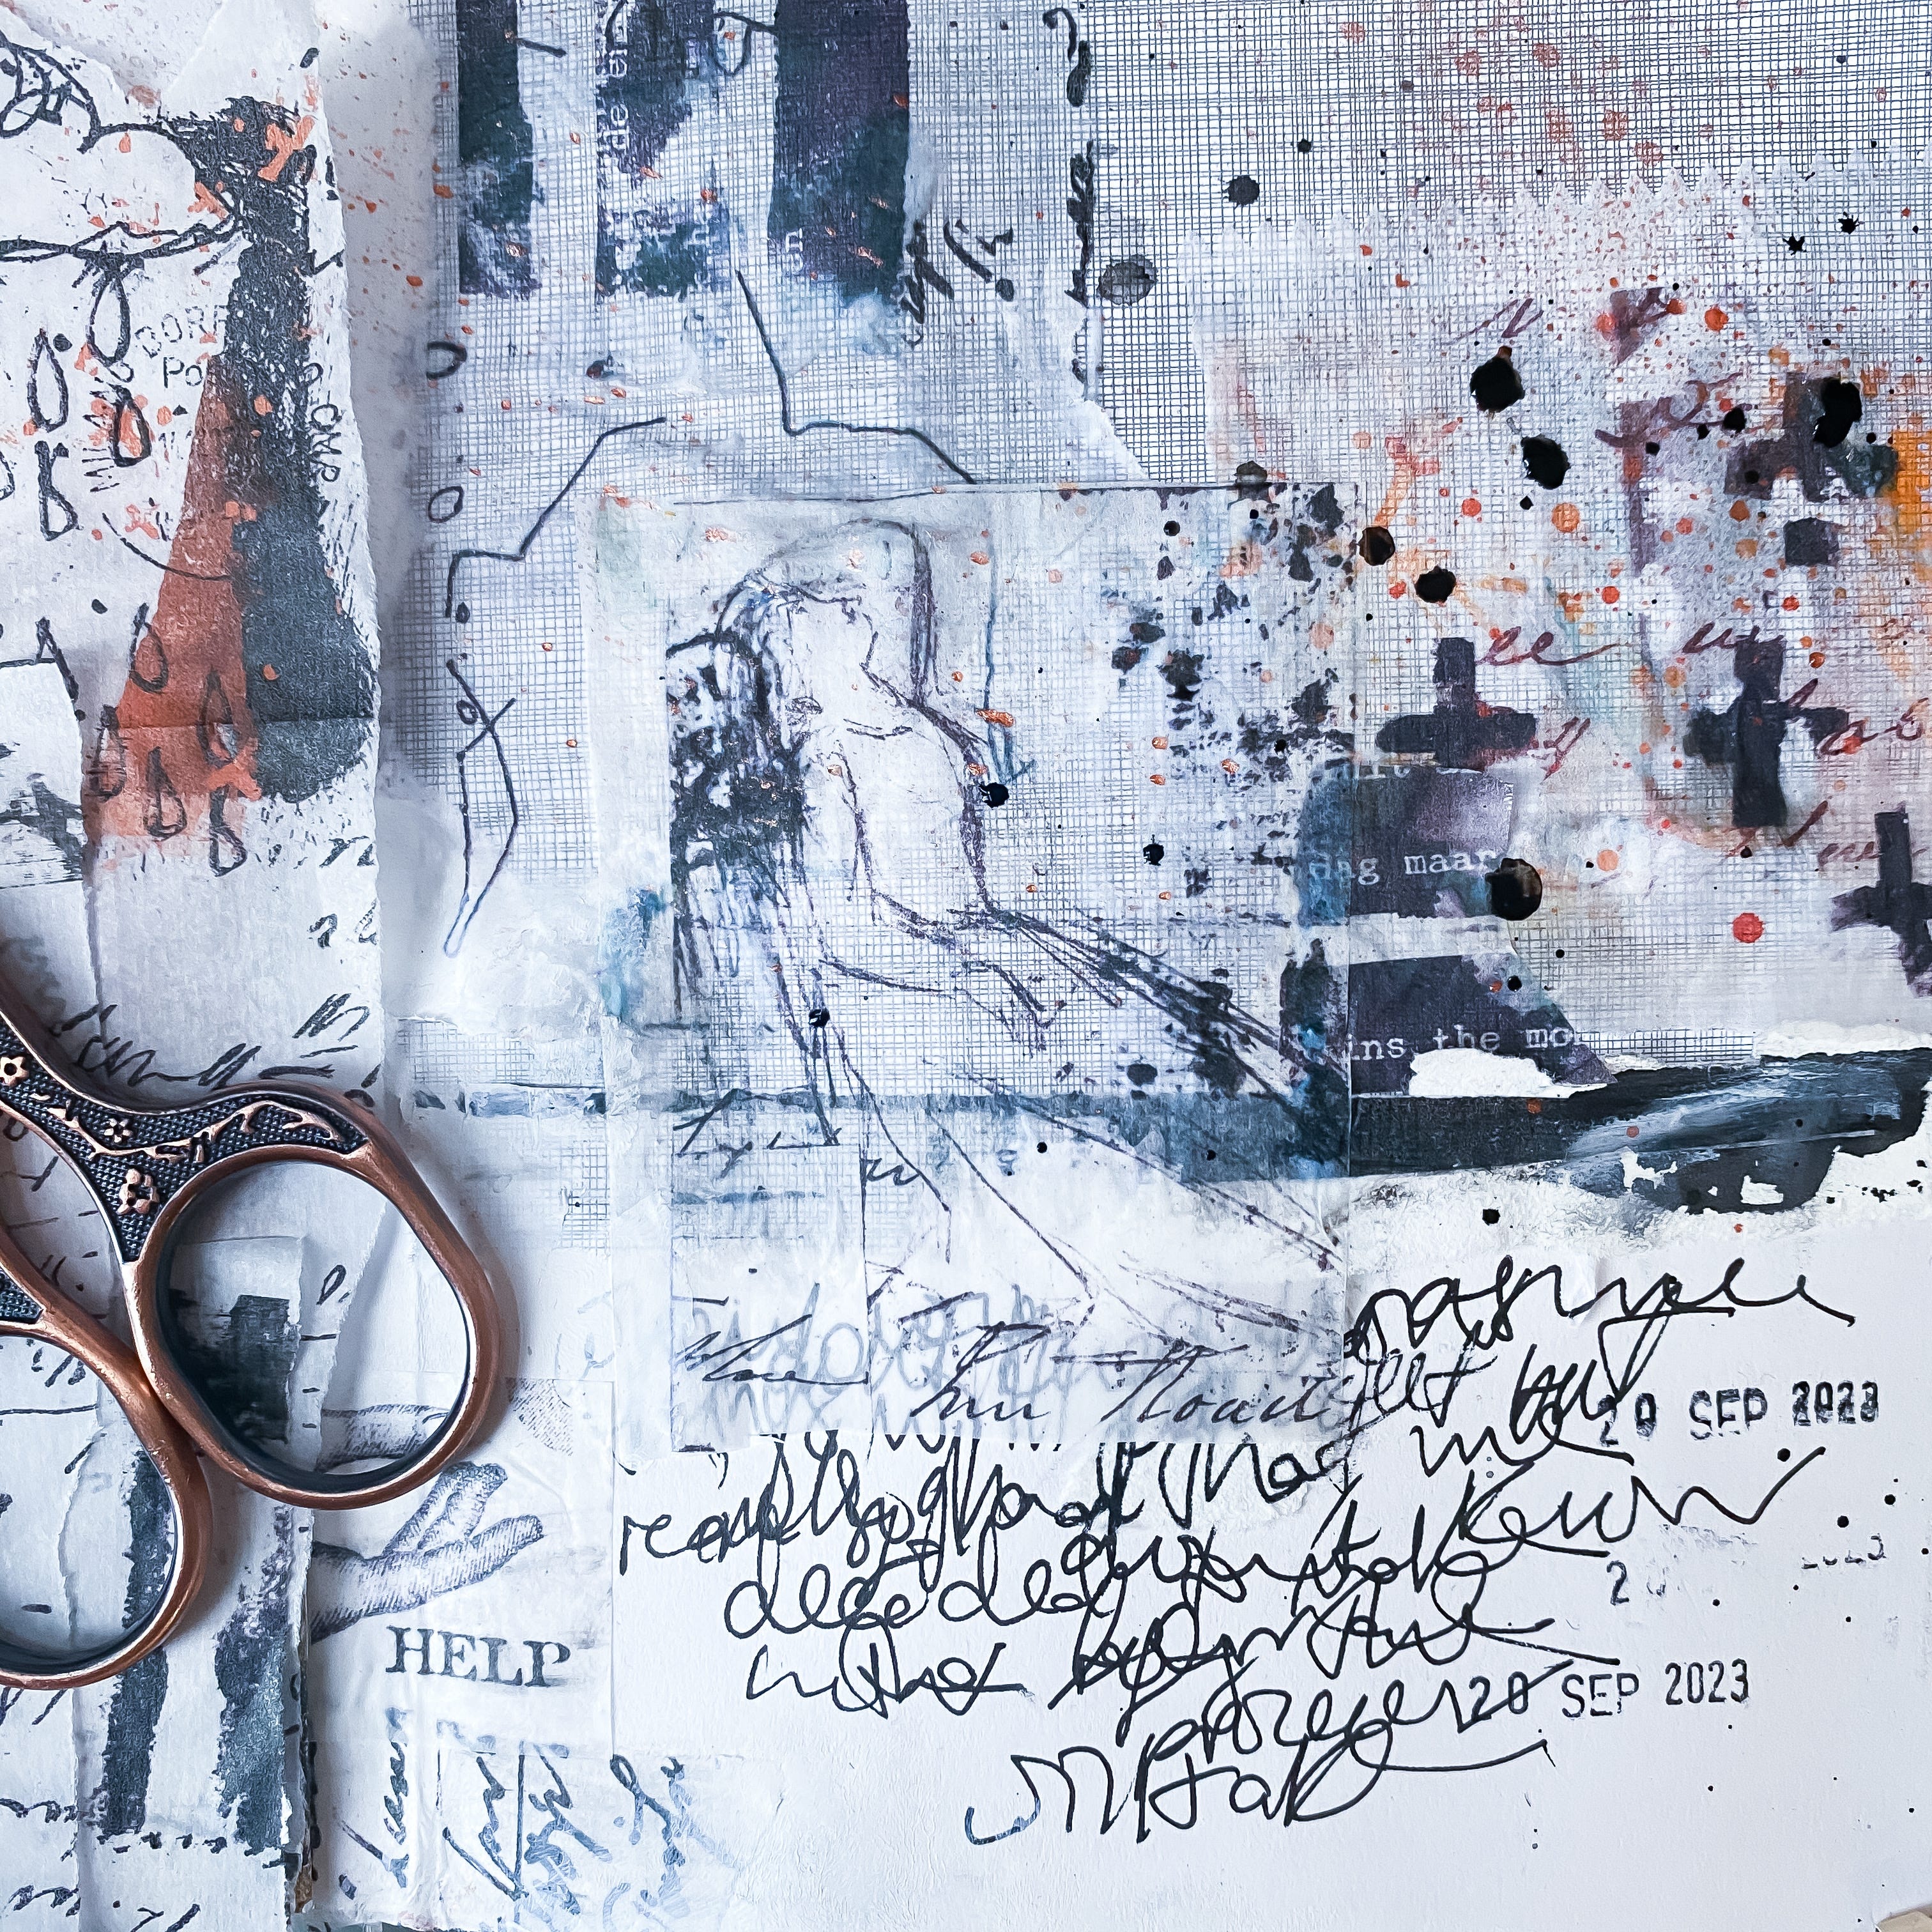
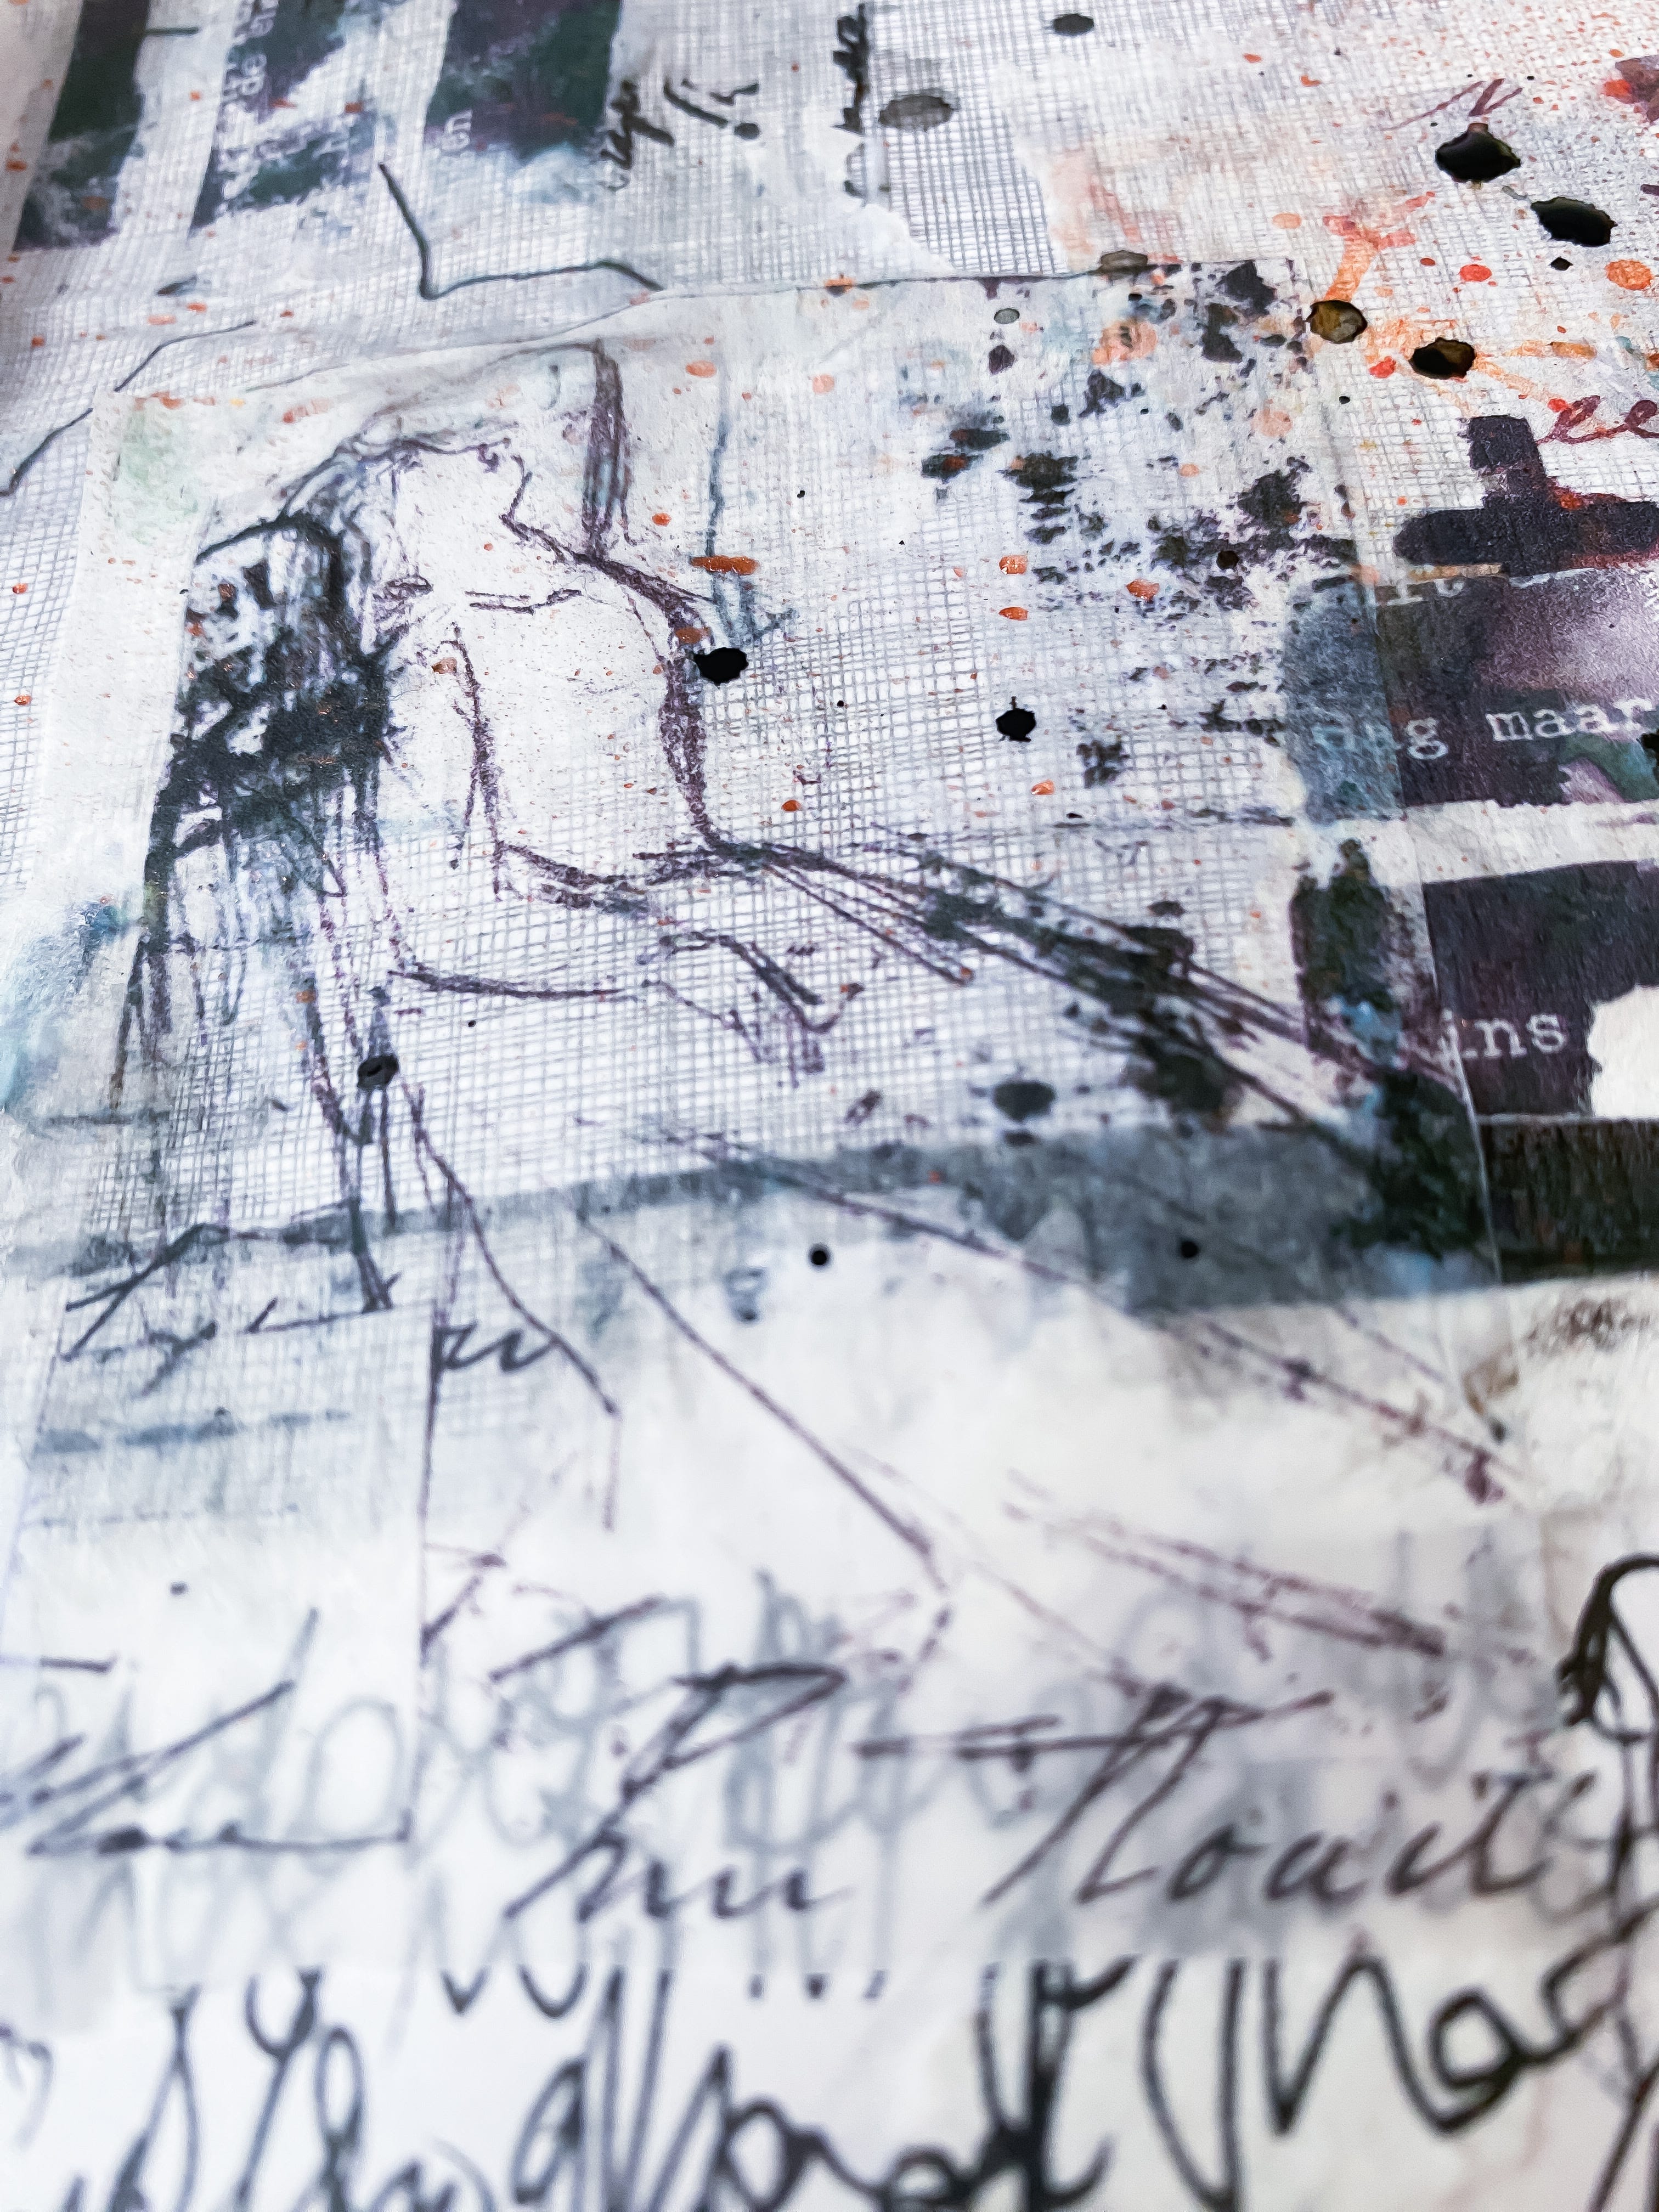
I started work at the top of my journal page and simply brushed on a bit of Matt Gel to adhere the printed papers down. I then added some scruffy journaling and I like to write really fast and layer words on top of words to make it difficult for anyone who may come across my journal or these images online to be actually legible in full.
The faster I scrawl those words down the easier it seems to be to get the raw feelings documented that are at the forefront of my mind.
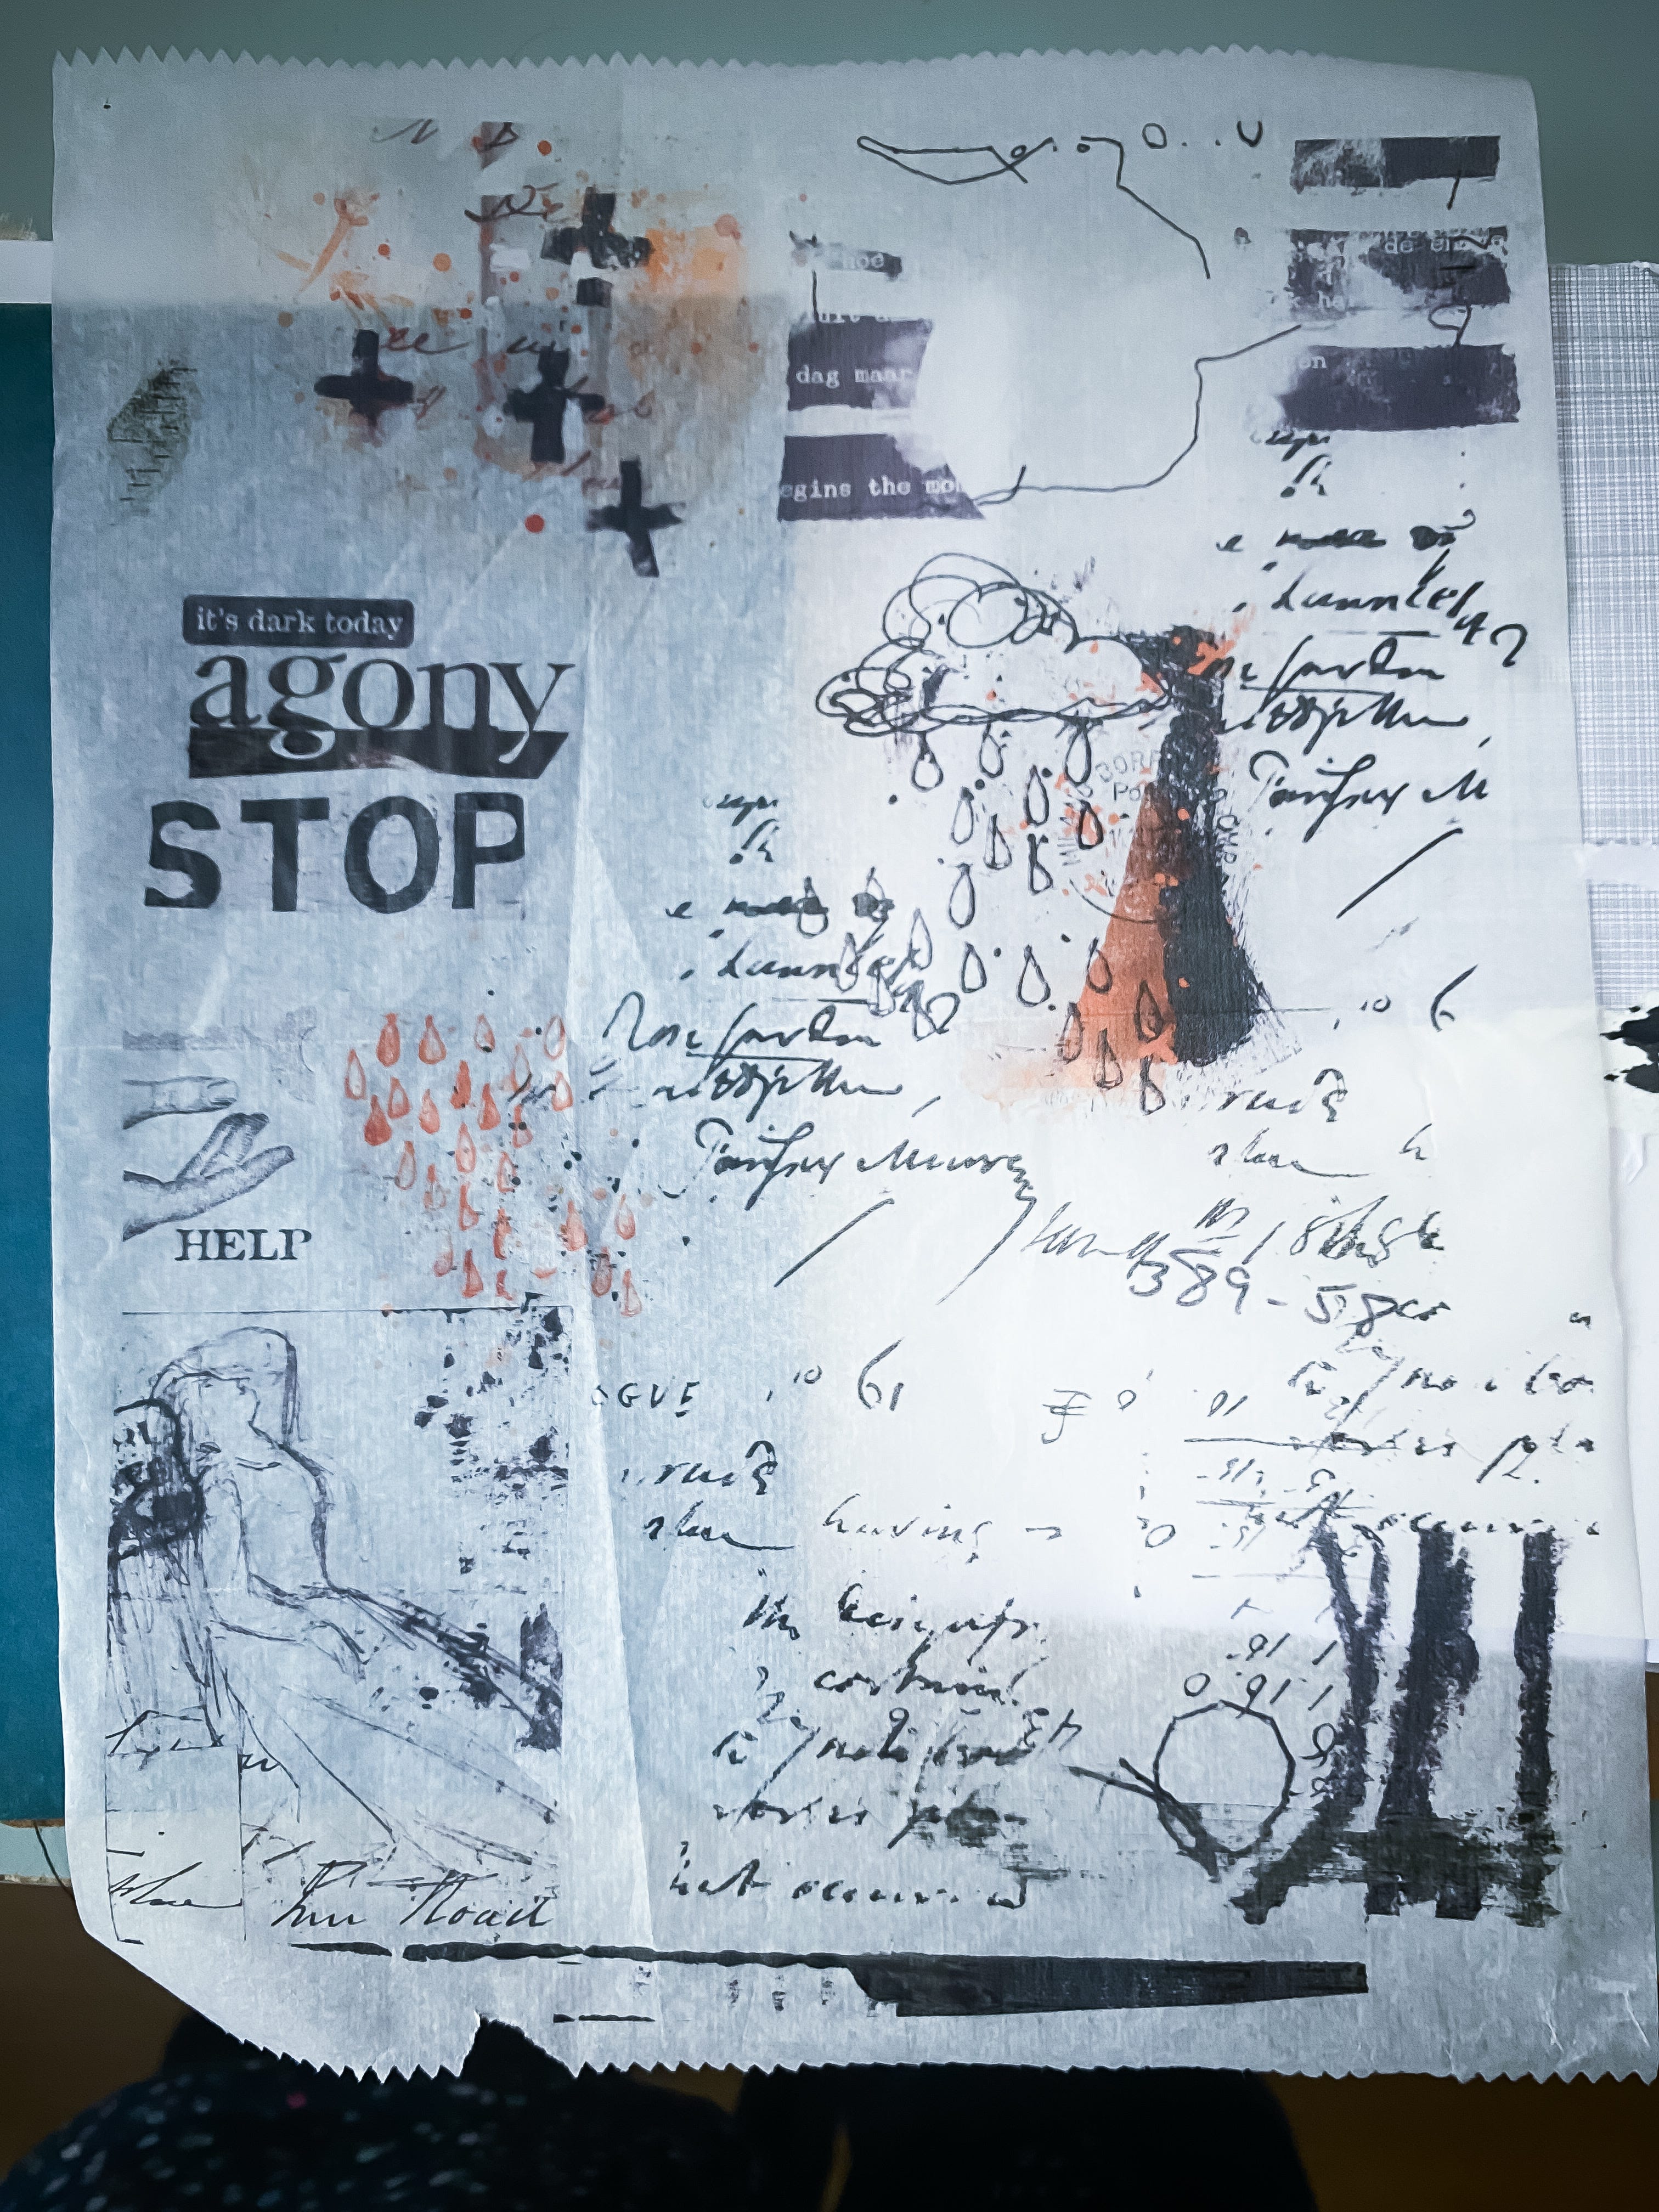
I then finished layering at the bottom of the page before adding a few dabs of white gesso paint, the date stamp and then a splatter of ink to finish.
No more than 10 - 15 minutes really to create the full page.
I printed with an ink jet so just know it’s likely your printed ink will run if it comes into contact with other wet mediums. It doesn’t bother me as I like a bit of smudged ink but just a heads up in case you are creating something precious!

All digital assets used today are currently discounted but the sale won’t last for long, 50% flash sale prices are good through 20th September 2023 only.


Emotive and stunning digital artistry can also be created with Hear My Voice Hurting
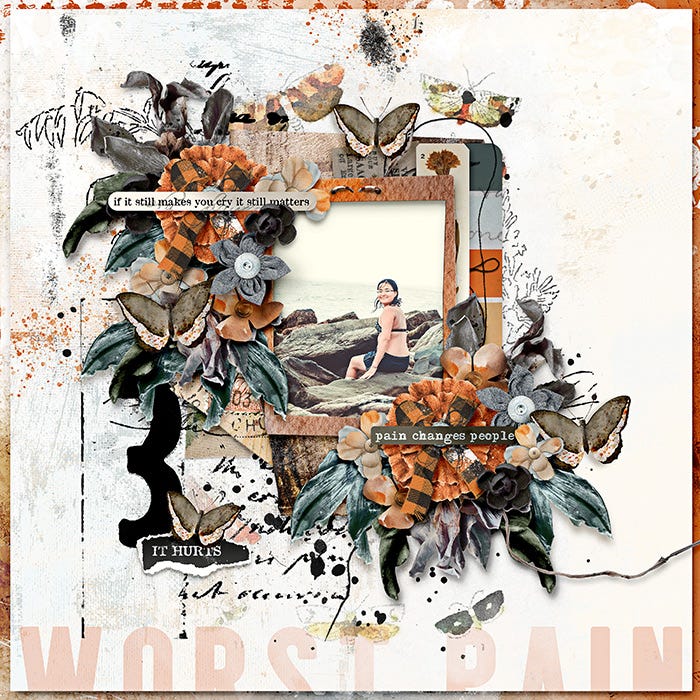
Plus Digital Artistry that include photos for memory keeping projects
If you love the rich textures and exceptional elements included in the Hear My Voice Series be on the lookout this week for release No.15 from Lynn and I - I’ll show you more on Friday!

I'll chat to you soon!

This is a really cool tutorial! I'm just getting back into my "arting" and this really makes me want to try it out (and to buy a color printer). Thanks for sharing the idea.