


Making Photos Pop | Editing Tips & Tricks
The new Hear My Voice Collection + Fun ways to make photos pop off the page


FUN WAYS TO MAKE PHOTOS POP OFF THE PAGE BY LYNN
One thing I worked out early in my scrapbooking days was that it’s hard to create with a completely unedited photo.
While the occasional photo SOC (‘Straight out the camera’) can, thanks to the luck of brilliant lighting and skilful shooting, hold its own against the colour, detail and distraction of papers and elements, you nearly always at the very least need to help them shine on the page by upping the brightness and contrast and maybe the saturation.
Another of my fave tricks is to duplicate the photo and pop the top one on ‘soft light’ blend mode for an instant lift.
Sometimes I want to go further and have fun integrating the photo(s) into the page by using colour overlays.
This month’s new “Hear My Voice” collection is a fun one and a little different from the norm, thanks to the addition of some bolder, brighter colour.
We heard your love of pinks in particular, and would also love to know what you think of “HMV Considering”, which is at The Lilypad now.
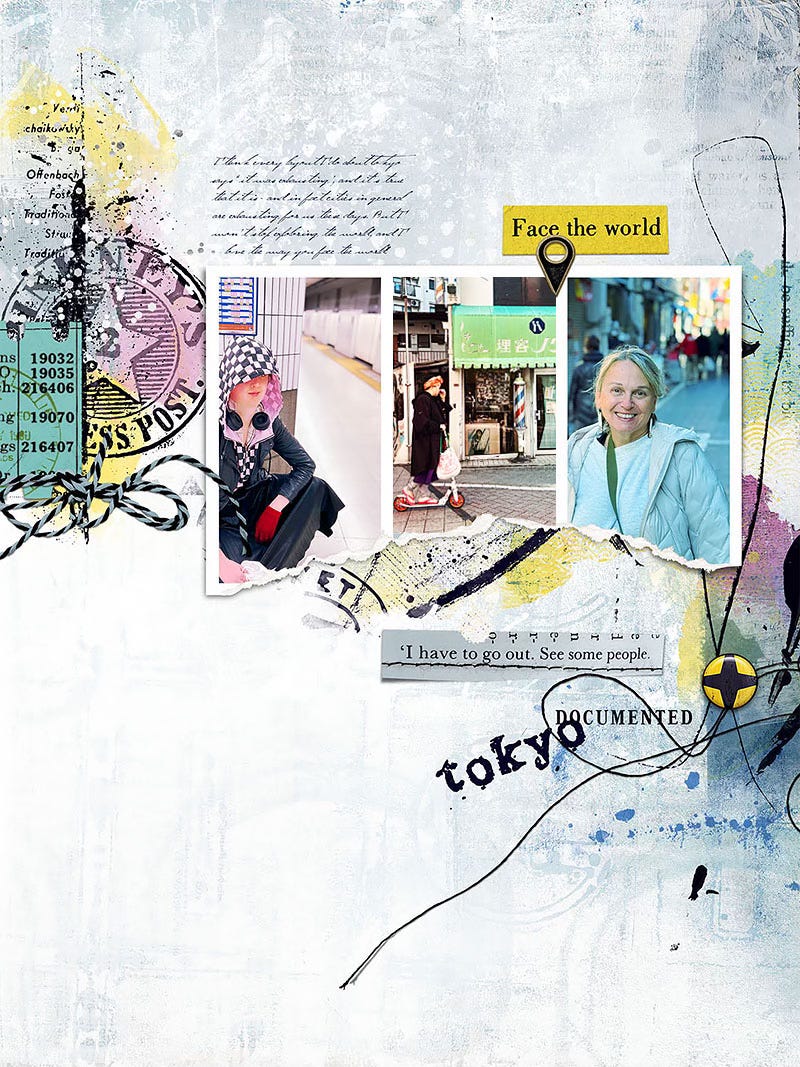
‘PEOPLE WATCHING IN TOKYO’
The HMV: Considering collection includes two fun torn photo templates, including one with space for three photos (or 1 or 2 photos combined with pocket cards, if that’s your jam).
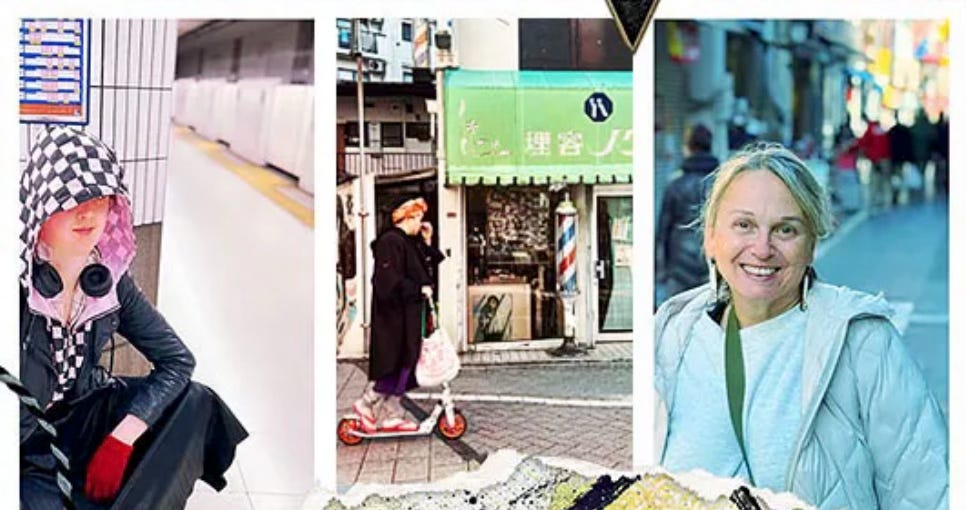
I wanted to use these pics from Tokyo but against the fun colours of the collection they were rather dull, being taken in a subway station and on a shady street.
To play with the two photos on the sides, I decided to emphasise the pink in my daughter’s outfit to pair with the pink of the paint next to the photos. I did this by adding a pink ‘colour overlay’ blend mode to the photo, and also increasing its brightness, contrast and saturation a little bit.
For the photo of myself on the right, I added a pale blueish colour overlay, which lightened the dull photo as well as contrasted with her pic and matched some of the other colours in the paints.
You can see the original photo of my daughter below with the screenshot also showing how, at the bottom of the Layers panel you can find the fx blend mode drop down panel. You can use the colour picker tool to select the colour of the overlay you want.

‘AT A CROSSROADS IN A LIFT’
I’d never taken a photo in a lift before, but when my friend texted me ‘good luck’ as I was on my way to attend the media awards on my own for the first time, I had to show her what the thrifted dress looked like!
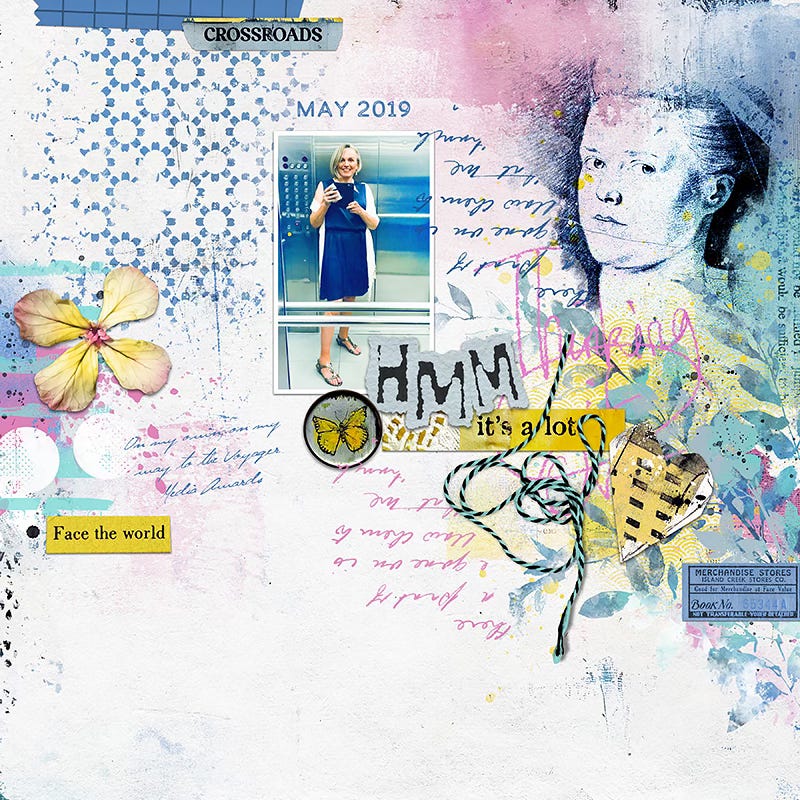
Photos taken in lifts (aka elevators) do need a bit of help, it turns out!

To get to the result in the page above, first I corrected the colour a little with Image- Adjustments - Auto Colour before tweaking the brightness a bit, then I add a blue colour overlay before tweaking the saturation and brightness again until I was happy.
Finally I used the burn tool to bring back a bit of the detail and contrast to my face before using the dodge tool on the sides of the photo which resulted in the rich blues and greens.
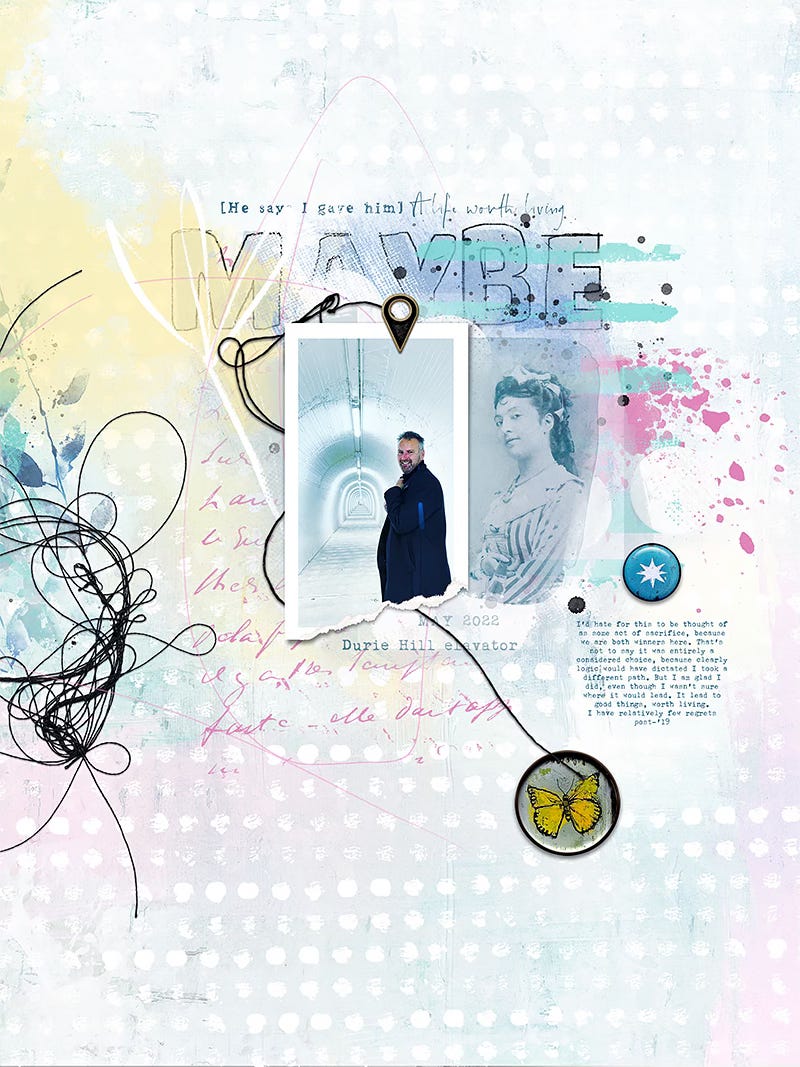
Continuing the elevator theme:
This amazing tunnel leads to the “Durie Hill Elevator”, a way of getting from the riverside up to the hillside suburbs in a small New Zealand city, built in 1919.
A blue-grey colour overlay transformed it into a magical portal! (Probably should have tweaked his sunburnt nose too, but ah well!)
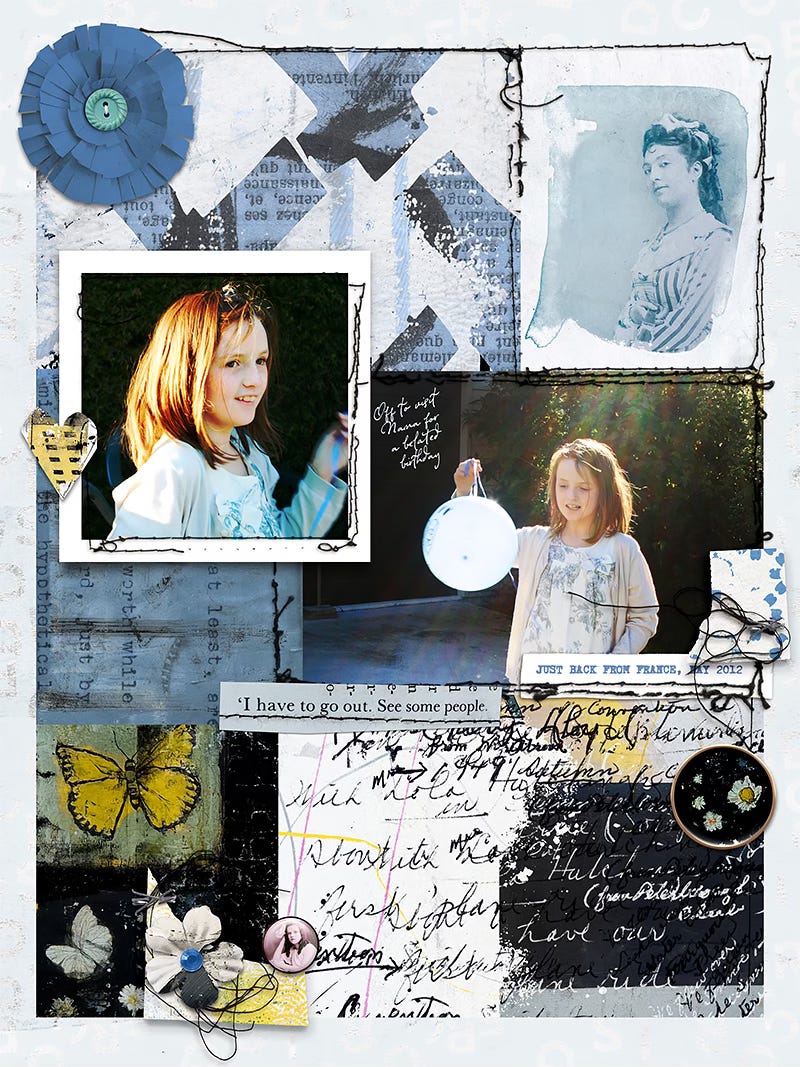
‘OFF TO IMPRESS THE NANAS’
And these photos are favourites of mine, but the one of her with the balloon was in really bad lighting. Duplicating it on soft colour mode, upping the contrast and the saturation and then using the dodge tool on the concrete (which turned into the perfect blue to match the papers) made it work so much better.
CHOOSING PHOTOS TO MATCH COLOURFUL KITS
If you’re looking to do minimal photo editing it can also help to select photos that complement rather than compete with the colours in a bright collection.
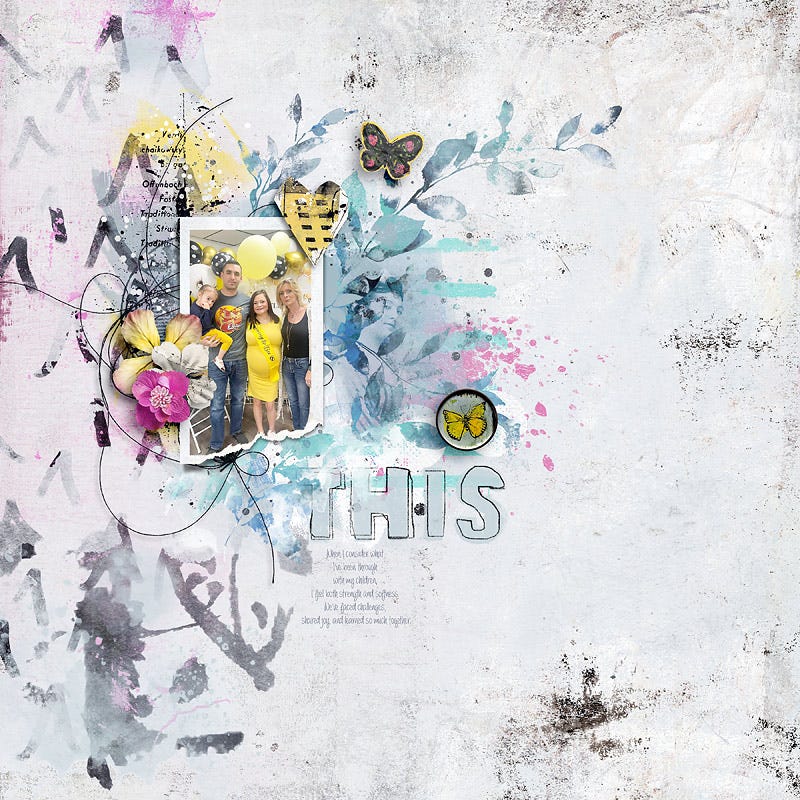
One easy way to do this is by looking for accent colours in your photos that echo the kit. In Jan’s layout for e.g, the yellow clothing picks up the yellow accents in the kit, and this match creates harmony and cohesion.
By keeping the majority of the layouts background more neutral with a few selected pops of colour with the paints and mixed media transfers you’ll see that the photo still stands out as the focal point due to the smart colour choice.
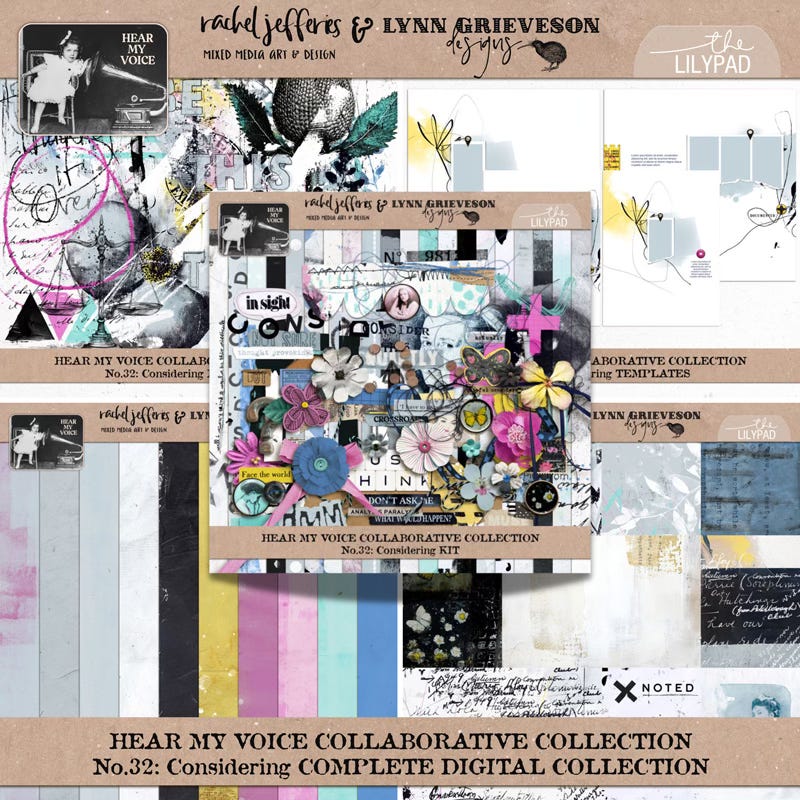
HEAR MY VOICE: CONSIDERING
The all new ‘Hear My Voice” collection ‘Considering’ has landed at the LilyPad this weekend and we’ve put together a video to share more colourful and creative ideas for you.
Introductory pricing is available on all parts of the collection when purchased before the end of Sunday.
Your best value is always the full bundled collection which has a bonus discount applied to it this weekend!
Enjoy lots more inspiration at the gallery at The Lilypad :-)
Connect!
We always love to hear from you.
So, what do you think? Does this month’s colourful HMV appeal to you? And do you have any tips or tricks about playing with colour on photos?
And, as always, thank you ALL for reading and thank you for being here :-)
PS If you are a premium subscriber check your inbox on Sunday for more inspiration and chat about that March Project Kit gifted to you last weekend (don’t forget to download it before the end of the month!)
Lynn & Rachel
Wonderful tips Lynn, thanks for taking the time to share these!!
Thank you for all the tips on color and photos you mentioned here. I've always chosen either the kit or the photos for a layout with color matching as a major consideration. I love having a list of options to "up my game."